I recently wanted to add a unique touch to my space and looked into using thin brick for the job. I wanted something that could add character, so I took the time to explore the whole process of installing it.
Thin brick seemed like an easy fix at first, but I quickly realized there’s a lot more involved than I expected. From choosing the right materials to understanding how the surface needs to be prepared, each part of the process affects the outcome.
I’ll share what I discovered to make the job smoother for anyone else thinking about trying it.
1. Surface Preparation
Before starting any thin brick installation, getting the surface right makes all the difference. A clean, solid, and dry surface ensures the bricks will adhere properly and stay in place for the long haul. If the surface has any cracks, moisture, or imperfections, these will interfere with the installation, causing issues down the line.
Here are a few key points to consider when preparing your surface:
- Clean thoroughly: Dirt or debris will compromise adhesion. Make sure the surface is spotless before applying any adhesive.
- Ensure dryness: Moisture can weaken the bond between the brick and the surface. Double-check that everything is completely dry.
- Fix any imperfections: Cracks, holes, or bumps will disrupt the layout. Repair and smooth the surface before starting.
2. Choose the Right Thin Brick
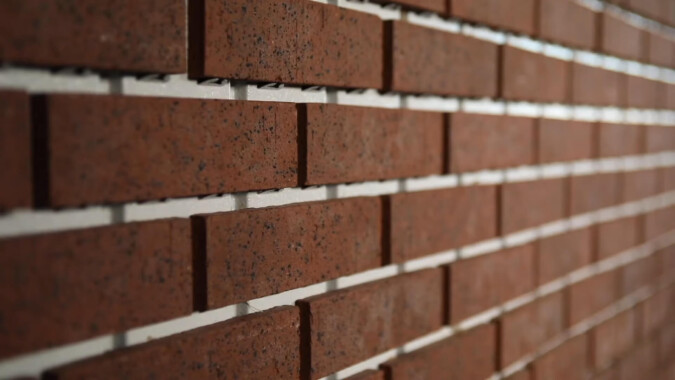
Selecting the right thin brick for your project can make all the difference in the final result. Different bricks come in various textures, colors, and thicknesses, and they aren’t all created equally for every situation. Whether you’re working on an interior or exterior space, making the right choice ensures the durability and appearance of your installation.
After looking into several brands, I found that Real Thin Brick offered the best balance of quality and variety. Their bricks come in different styles that fit a range of design needs, whether you’re going for a rustic look or something more modern.
Choosing high-quality products is the most important part of your thin brick installation project.
Key things to keep in mind:
- Consider texture: Smooth bricks work well for a sleek, polished look, while rougher textures add character.
- Think about color: Lighter tones can brighten a room, while darker ones give a more dramatic effect.
- Match the thickness: Make sure the thin brick you select fits the overall aesthetic and structural needs of your space.
3. Select the Correct Adhesive or Mortar
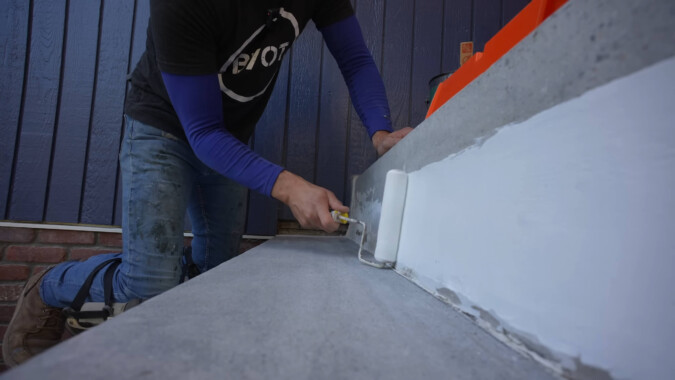
Once you’ve selected the right thin brick, the next important step is choosing the correct adhesive or mortar to secure it. This decision depends on both the type of surface you’re working with and the environment. Using the wrong product can lead to bricks loosening or even falling off over time.
For example, if you’re installing thin brick in a humid area, like a bathroom or kitchen backsplash, a moisture-resistant adhesive is essential. In contrast, for outdoor installations, you’ll want to go with a high-strength mortar designed to handle the elements.
Here are some common scenarios and what works best:
- Indoor Walls: Use a standard thinset mortar or mastic adhesive. This works well on drywall or plywood surfaces.
- Exterior Projects: Opt for a high-performance mortar with added polymers for extra durability. For example, Laticrete MVIS is a great option for exterior surfaces.
- Wet Areas: A modified thinset with water resistance is ideal. Custom Building Products’ FlexBond is one adhesive often recommended for these environments.
4. Decide on Grout Joint Width
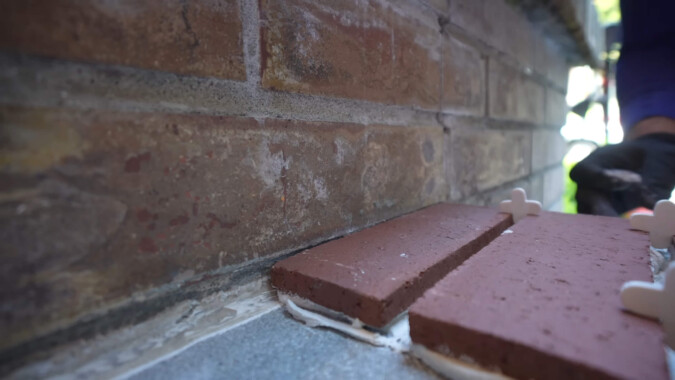
Grout joint width plays a major role in the overall look and feel of your thin brick installation. Whether you prefer a tight, seamless look or a more traditional wider joint, planning this detail before installation makes a significant difference in the final result. The width of the grout joints will also impact how the bricks line up and how much grout you’ll need.
For example, if you want a more modern, sleek appearance, a smaller grout joint (around 1/8 inch) works well. On the other hand, a wider joint (around 1/2 inch) gives a rustic, classic brick look, similar to what you might see in old factory buildings or loft spaces.
Things to consider:
- Narrow joints: Provide a clean, minimalistic look. Ideal for modern spaces.
- Wider joints: Create a more traditional, rustic feel. They also give the bricks room to breathe visually.
- Consistency matters: Ensure you keep the width consistent throughout the installation for a polished and professional finish.
5. Brick Cutting Tools
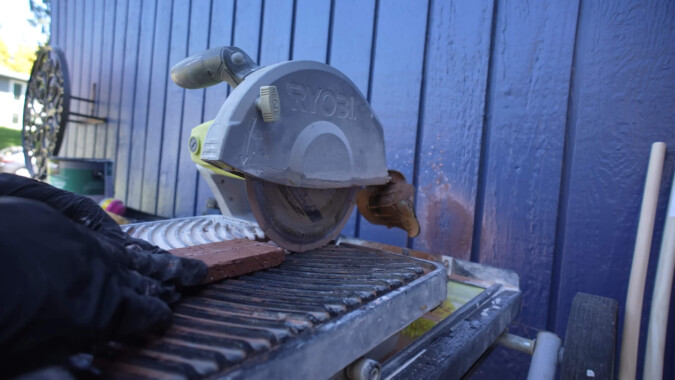
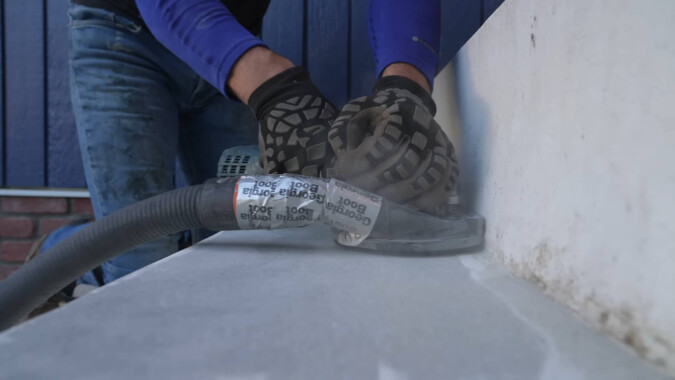
Not every thin brick will fit perfectly in your space, especially around corners, edges, or irregular areas. This is where brick cutting comes in. This is another crucial part of every thin brick installation project.
Using the right tools will make sure you get clean cuts that fit seamlessly with the rest of the installation.
A couple of examples:
- Wet saws: These are great for cutting thin brick with precision, especially when you have multiple cuts to make. The water cools the blade, reducing dust and helping you achieve smooth edges.
- Angle grinders: Ideal for smaller projects or when you need to make a few cuts. A diamond blade on an angle grinder can cut through bricks easily but requires a steady hand.
6. Consider Weather Conditions for Exterior Projects
If you’re planning to install thin brick on an exterior wall, weather conditions can either help or hinder your project.
Moisture, extreme heat, or freezing temperatures can affect both the adhesive and the thin bricks themselves. Therefore, always be aware of it as it can directly affect the results of your thin brick installation project.
A few examples:
- Cold weather: Avoid installation in freezing temperatures. The adhesive may not set properly, leading to future problems like cracking or separation.
- Hot weather: In extremely hot conditions, adhesives can dry too quickly, making it difficult to get the bricks to bond properly. It’s best to install in moderate temperatures.
- Rain: Moisture can weaken the adhesive or mortar, so always make sure the forecast is clear before starting.
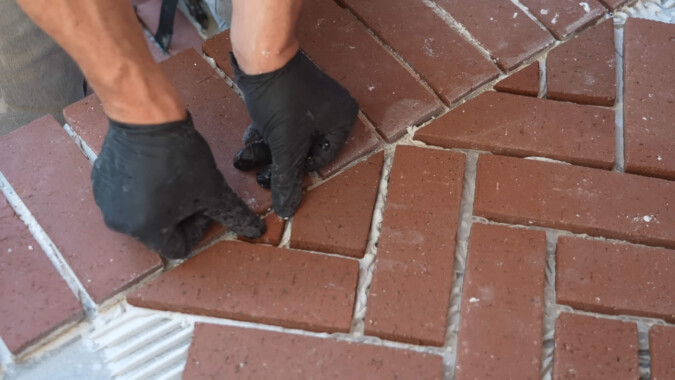
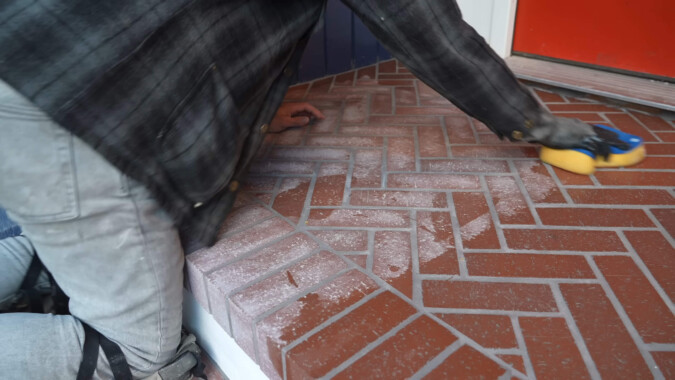
7. Plan the Brick Layout

A well-thought-out brick layout brings everything together, ensuring the design looks intentional and balanced. Before you begin installing, it’s essential to lay out your bricks and visualize the pattern you want to achieve.
Examples of layout options:
- Running bond: This is the most common brick pattern, where each row is offset by half a brick, giving a classic look.
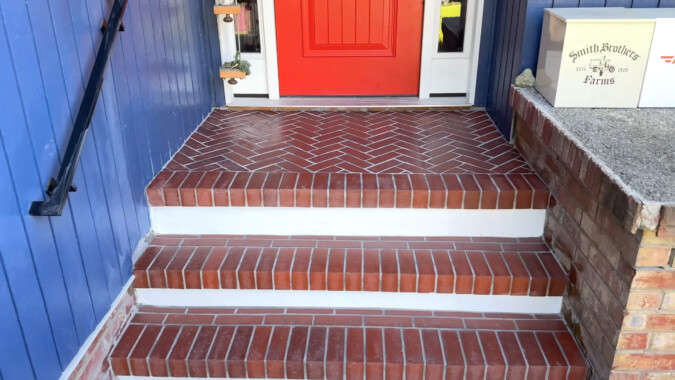
- Herringbone: For a more eye-catching design, herringbone patterns add visual interest and can give an area a unique, geometric feel.
- Stack bond: If you’re after a modern, clean aesthetic, stack bond keeps bricks aligned directly above one another for a sleek look.
8. Seal the Bricks
Sealing thin brick can be an essential step depending on where the installation is located. For areas exposed to moisture, dirt, or heavy wear and tear, applying a sealer adds an extra layer of protection and helps maintain the appearance of the brick over time.
Examples of where sealing is crucial:
- Exterior walls: Bricks exposed to rain and weather need sealing to prevent water damage and staining. A good masonry sealer, like Thompson’s WaterSeal, works well for this.
- Kitchens and bathrooms: Sealing is especially important in areas where moisture is present. A product like Miracle Sealants 511 offers water and stain resistance, perfect for backsplashes or shower walls.
9. Allow Proper Curing Time
Once the bricks are laid, it’s important to let everything cure properly. Rushing this step can lead to weak adhesion, grout cracking, or other long-term problems. The specific curing time depends on the materials used and the environment where the brick is installed. Don’t ruin your thin brick installation project by rushing it.
Examples:
- Indoor installations: For thinset mortar, it generally takes about 24-48 hours for the adhesive to fully cure before the grout is applied.
- Outdoor installations: Curing time may take longer depending on humidity, temperature, and other weather factors. Always check manufacturer recommendations for curing times.
FAQs
Can thin brick be installed over drywall?
Yes, thin brick can be installed over drywall as long as the surface is clean, dry, and free of any damage. Using the right adhesive or mortar for drywall is important to ensure the bricks adhere properly.
Do I need to use a backer board for thin brick?
A backer board is not always required, but it can be helpful in areas where moisture is present, like bathrooms or kitchens. It provides a more durable and moisture-resistant surface for the thin brick.
How thick is thin brick?
Thin bricks are generally about 1/2 to 3/4 of an inch thick. This makes them lightweight and easier to install compared to full-size bricks.
Can thin brick be used for flooring?
Yes, thin brick can be used for flooring. However, you need to choose bricks that are rated for floor use, as they need to be more durable to handle foot traffic.
How do you clean thin brick after installation?
You can clean thin brick using a mixture of water and mild detergent. Avoid harsh chemicals or abrasive scrubbers, as they can damage the surface. A soft brush works well for removing dirt from the grout lines.
Is thin brick fireproof?
Yes, thin brick is made from the same materials as regular brick and is highly fire-resistant, making it suitable for fireplaces or areas near heat sources.
How long does thin brick last?
Thin brick installations, when done correctly, can last for decades with minimal maintenance. It is a durable material that stands up well to wear and tear.
Last Words
After going through the entire process of thin brick installation, I can say it’s definitely worth the effort. From prepping the surface to choosing the right materials, each step makes a difference in how it all turns out. I learned that paying attention to the details, like grout width and sealing, helps create a finished look that lasts.
If you’re thinking about starting your own thin brick project, take your time with the planning. It’ll save you headaches later. I hope what I’ve shared here helps make the process smoother for you too.